How to Do a Pre-Ride Motorcycle Inspection (T-CLOCS, Plain English)
The T-CLOCS pre-ride inspection checklist explained without the jargon — what to check, what to look for, and how to make it fast enough that you'll actually do it every time.
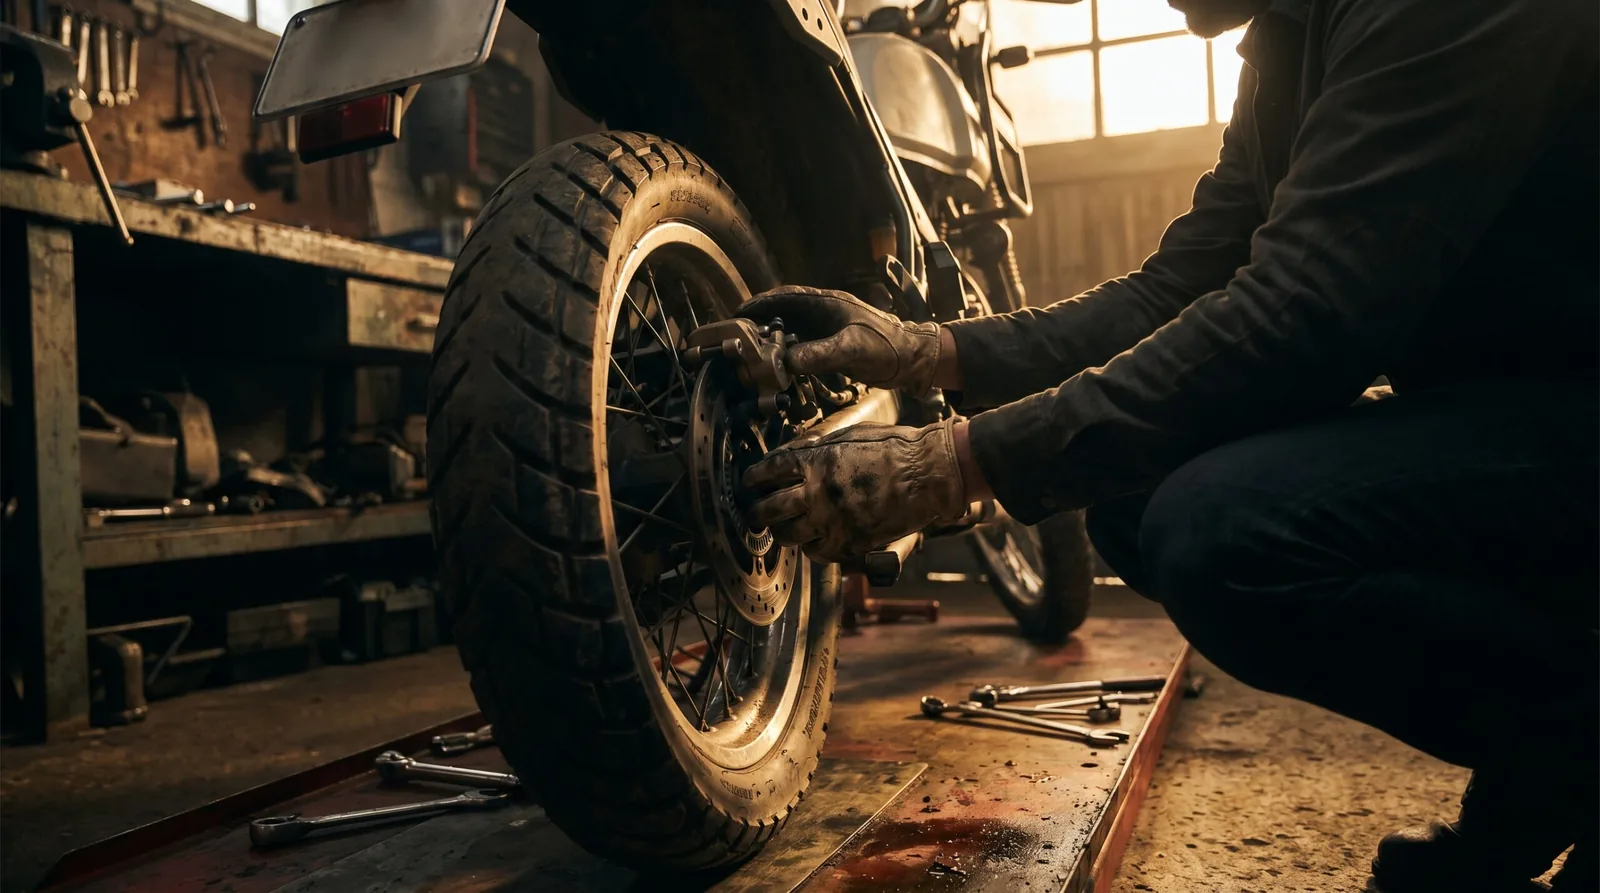
The T-CLOCS pre-ride inspection is the standard recommended by the Motorcycle Safety Foundation. It covers the six areas that are most likely to fail on a motorcycle and cause a crash or a breakdown. Done right, it takes about five minutes. Done consistently, it’s one of the most effective safety habits a rider can build.
Here’s the full rundown — what each letter means, what you’re actually checking, and what a problem looks like.
T — Tires and Wheels
Tires are the only contact point between you and the road. They deserve first position.
What to check:
- Pressure. Cold tire pressure should match the spec on your bike’s placard or in the owner’s manual — not the max pressure printed on the tire sidewall. Low pressure affects handling and heat management. High pressure reduces contact patch and grip.
- Tread depth. The legal minimum is 2/32″ but you should be looking at replacement before you get there. Most sport and street tires start degrading grip noticeably before the wear indicators. Get a tread depth gauge and know your actual numbers.
- Condition. Look for cracking, bubbles, embedded objects, or uneven wear. Side-to-side wear differences can indicate alignment or suspension issues.
- Wheels. Check for loose or broken spokes (on wire wheels), rim damage, and that axle nuts are secure.
C — Controls
Controls is everything you touch while riding: levers, pedals, throttle, cables.
What to check:
- Lever feel. Brake levers should be firm, not spongy. Spongy feel = air in the brake system. Front brake should engage smoothly with consistent pressure. Clutch lever should have the right amount of freeplay per your manual (typically 2–3mm).
- Throttle. Open and close it — it should snap back completely when released. With bars at full lock both directions, there should be no binding, sticking, or delayed return.
- Cables. Look for kinks, fraying at the ends, or routing that could bind when the bars turn.
- Brake pedal. Press it — it should be firm and not travel to the floorboard.
L — Lights and Electrics
A few seconds to confirm your lights are working is a lot faster than explaining to a cop why your brake light was out.
What to check:
- Headlight (both low and high beam)
- Brake light (activate with both front lever and rear pedal — they should both trigger it)
- Turn signals (all four — front and rear, left and right)
- Instruments: speedo, fuel gauge, warning lights. If a warning light is on, don’t ignore it hoping it’ll go away.
- Horn. Takes one second. You’ll be glad it works when you need it.
O — Oil and Fluids
Quick visual check on fluid levels — not a full fluid analysis, just confirmation you’re not critically low.
What to check:
- Engine oil. Check the sight glass or dipstick. Should be within the marked range. Look under the bike for any fresh oil spots on the ground — drips on pavement mean something is seeping.
- Coolant. Coolant-cooled bikes have a reservoir with min/max marks. Takes three seconds to look.
- Brake fluid. Both master cylinders (front and rear) have inspection windows. Fluid should be at the marked level. Note: dark fluid = old fluid. Brake fluid absorbs moisture over time and should be replaced every 1–2 years regardless of level.
- Fuel. Know your actual fuel level. Reserve doesn’t mean you can skip this check.
C — Chassis
The chassis check covers everything structural and mechanical — the parts that keep the bike together.
What to check:
- Chain or belt. Check tension and lubrication. A dry chain is a chain in the process of wearing out. Adjust tension per your manual if it’s too loose or too tight.
- Suspension. Push down on the front forks and release — it should rebound smoothly without bottoming or sticking. Check for fork seal leaks (oil residue on the lower legs).
- Frame and swingarm. Look for cracks, bends, or anything that wasn’t there before. After any drop or impact, inspect the frame carefully.
- Fasteners. You can’t torque-check everything in a pre-ride, but look for anything obviously loose: handlebars, mirrors, levers, pegs.
S — Sidestand
The sidestand check is quick but specific: confirm the stand retracts fully and that the sidestand switch is working.
What to check:
- Sidestand retracts when you lift it — spring tension intact, not broken
- Most modern bikes cut the engine if you try to ride away with the stand down. Test that the safety switch works: put the bike in gear with the stand down — it should stall or not start
- Look at the base of the stand for cracks, especially if you’ve had any drops
Make It a Logged Habit
The T-CLOCS inspection is most useful when it’s consistent. A one-time thorough inspection tells you where the bike is right now. A logged history of inspections tells you where it’s going — and catches trends before they become failures.
Moto Frontier’s Ride Check walks you through a guided T-CLOCS-style inspection tied to each bike in your garage. Every check is logged with a Ride Health Score, and you can add photos to any item that needs monitoring. Over time, you build a real inspection history — not a vague sense that “the bike feels fine.”
Keep reading
 Maintenance & Repairs · 5 min
Motorcycle Tires: Pressure, Wear Bars, Date Codes, and When to Replace
Two patches of rubber the size of your palm are all that touch the road. Here's how to check pressure the right way, read the wear bars and
 Maintenance & Repairs · 5 min
Motorcycle Brake Inspection at Home: Pads, Fluid, Rotors, and When to Replace
Brakes wear slowly enough that you stop noticing. A ten-minute check with a flashlight tells you what's left, what the fluid's doing, and wh
 Maintenance & Repairs · 5 min
Motorcycle Battery Maintenance: Tenders, Voltage, and How Long One Lasts
The battery is the part that fails on the first ride of the season. Here's what the voltage numbers mean, which charger to use, how to store