

Title
Open Box.
Install Vision Ride Pro.
Ride Safe Ride Free.
Title
Install the Optional Sun Visor
Title
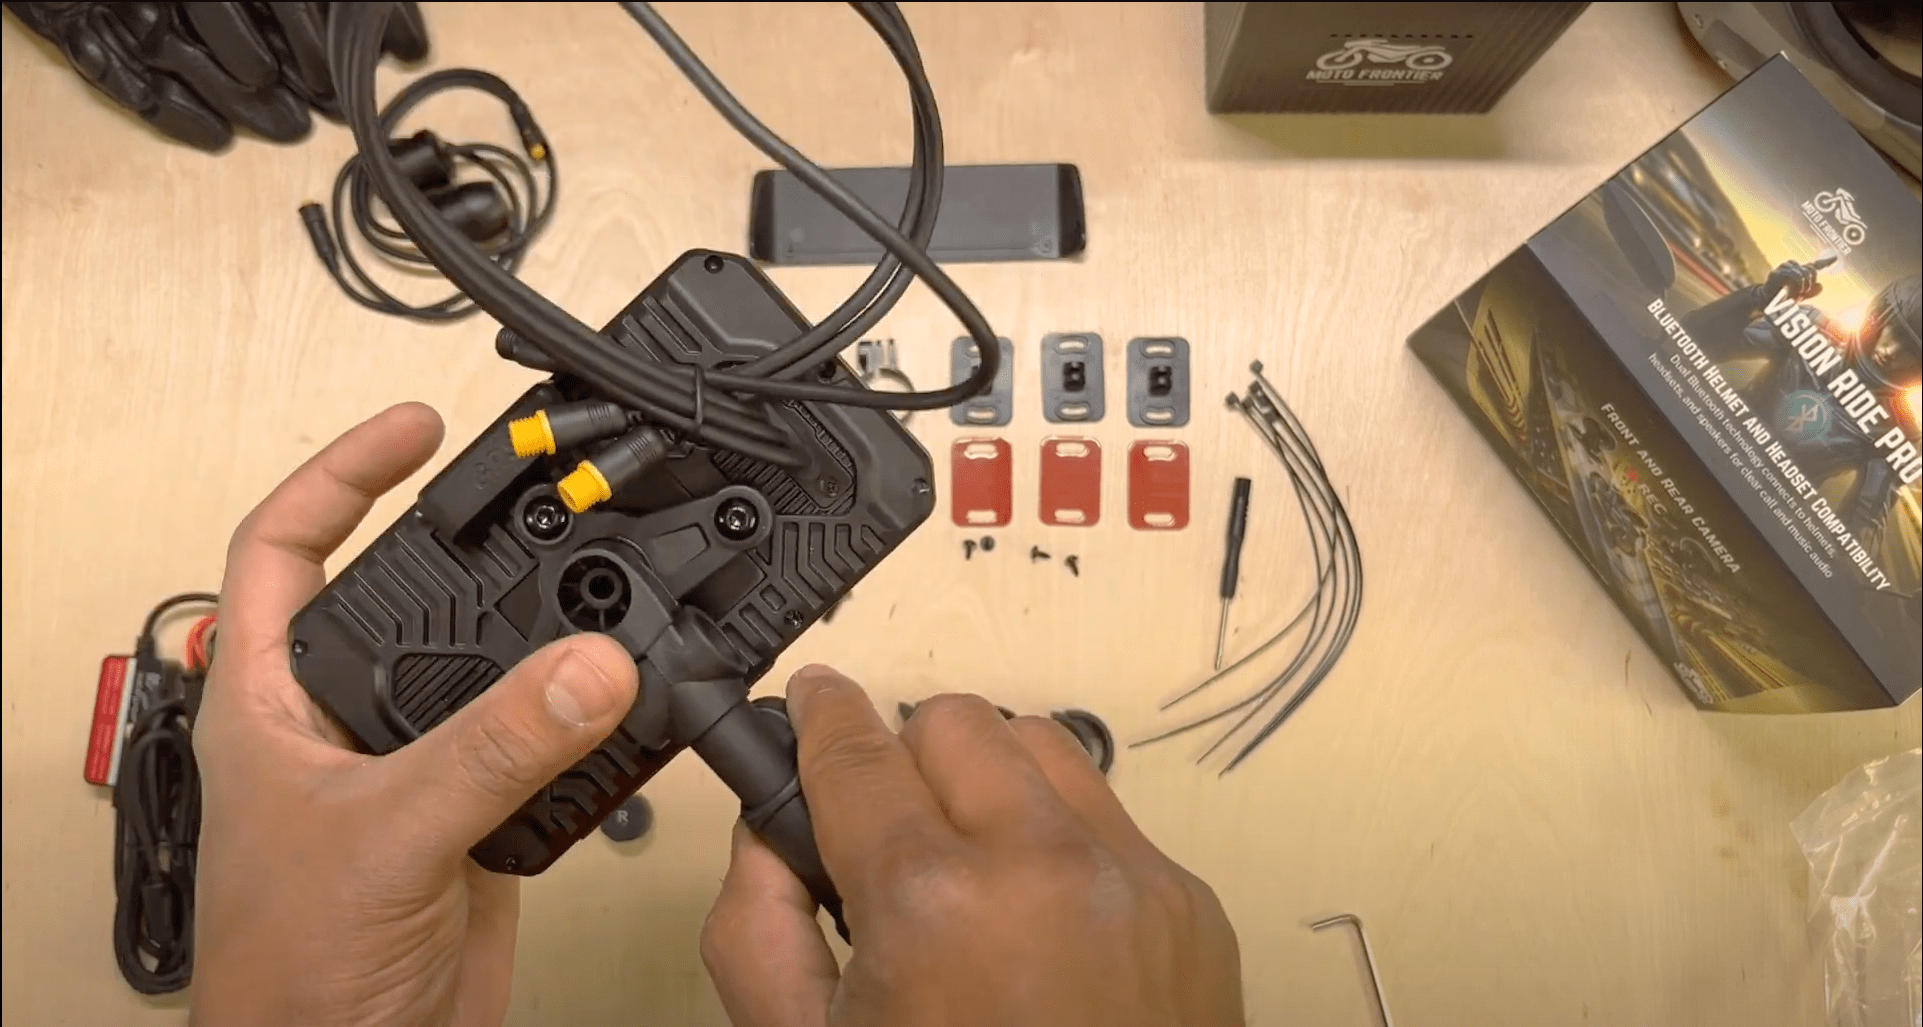
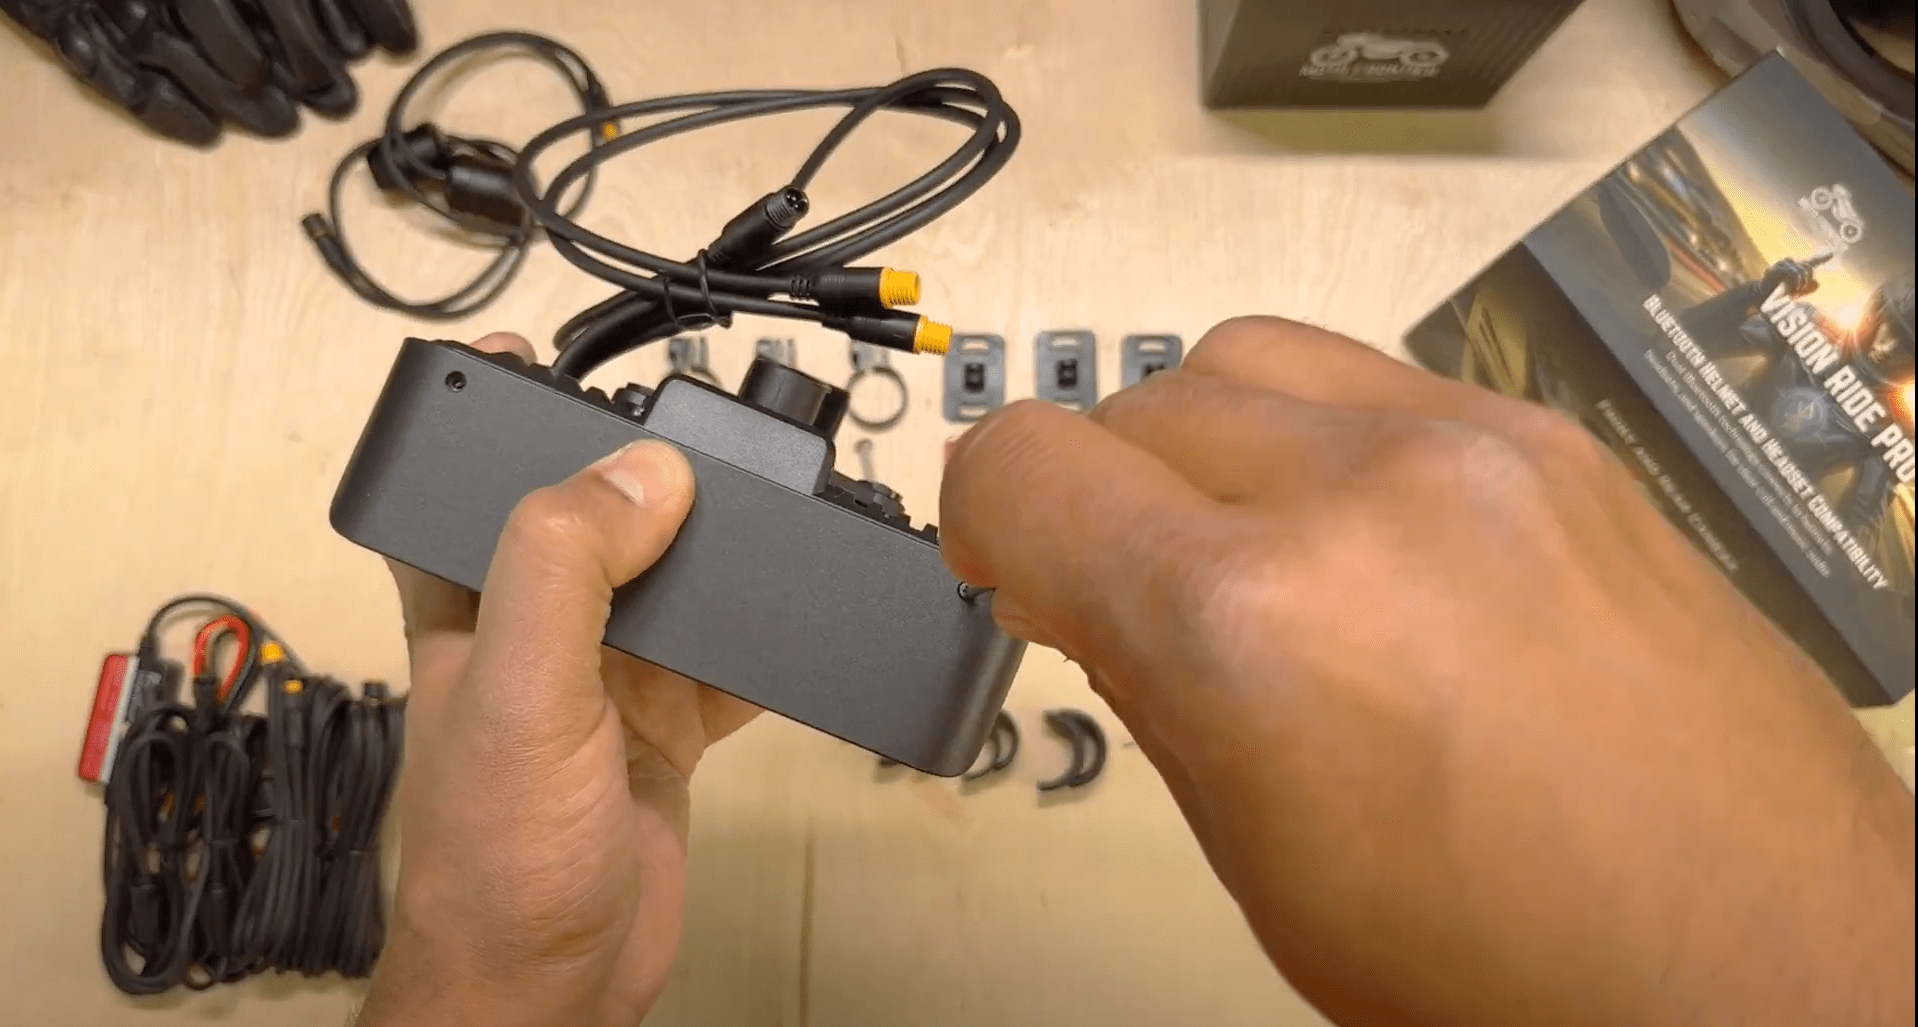
Assemble the Rear Bracket
Title
Install a Micro SD Card
Title
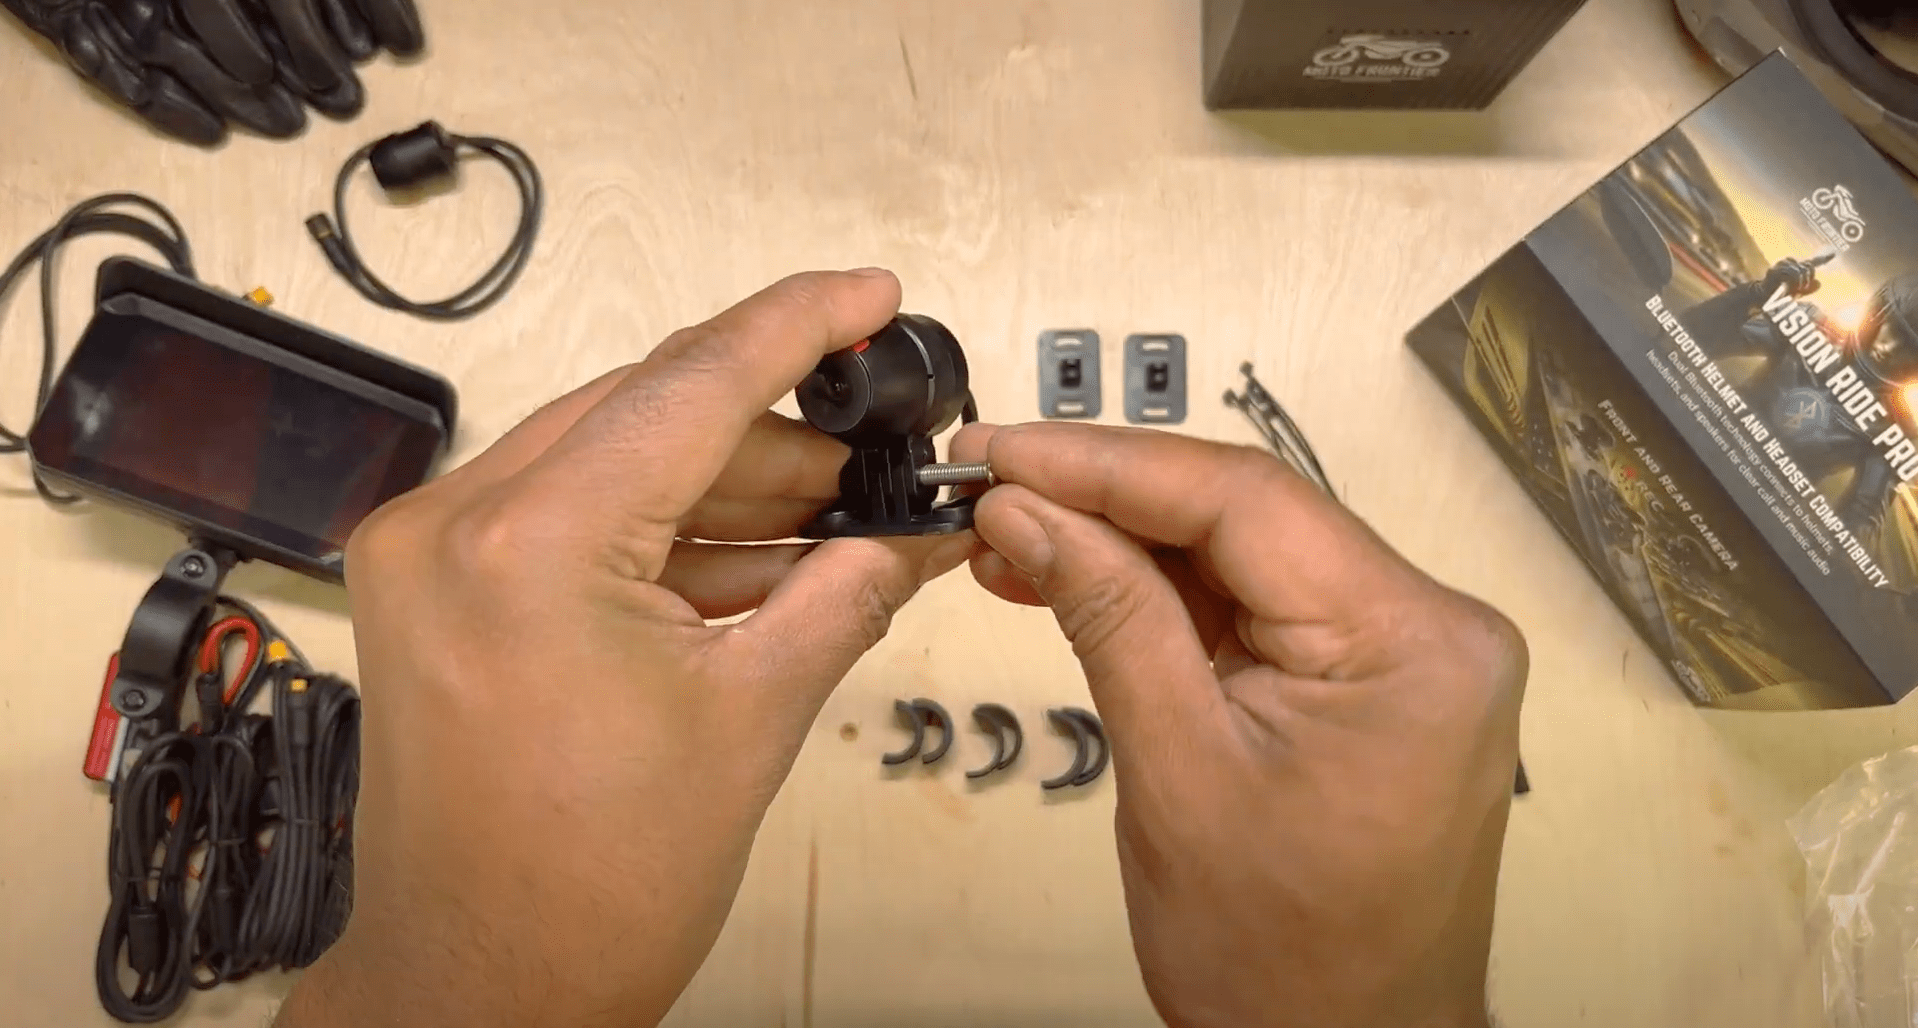
Assemble Camera Mounts

Title
Connect to Power Source
Title
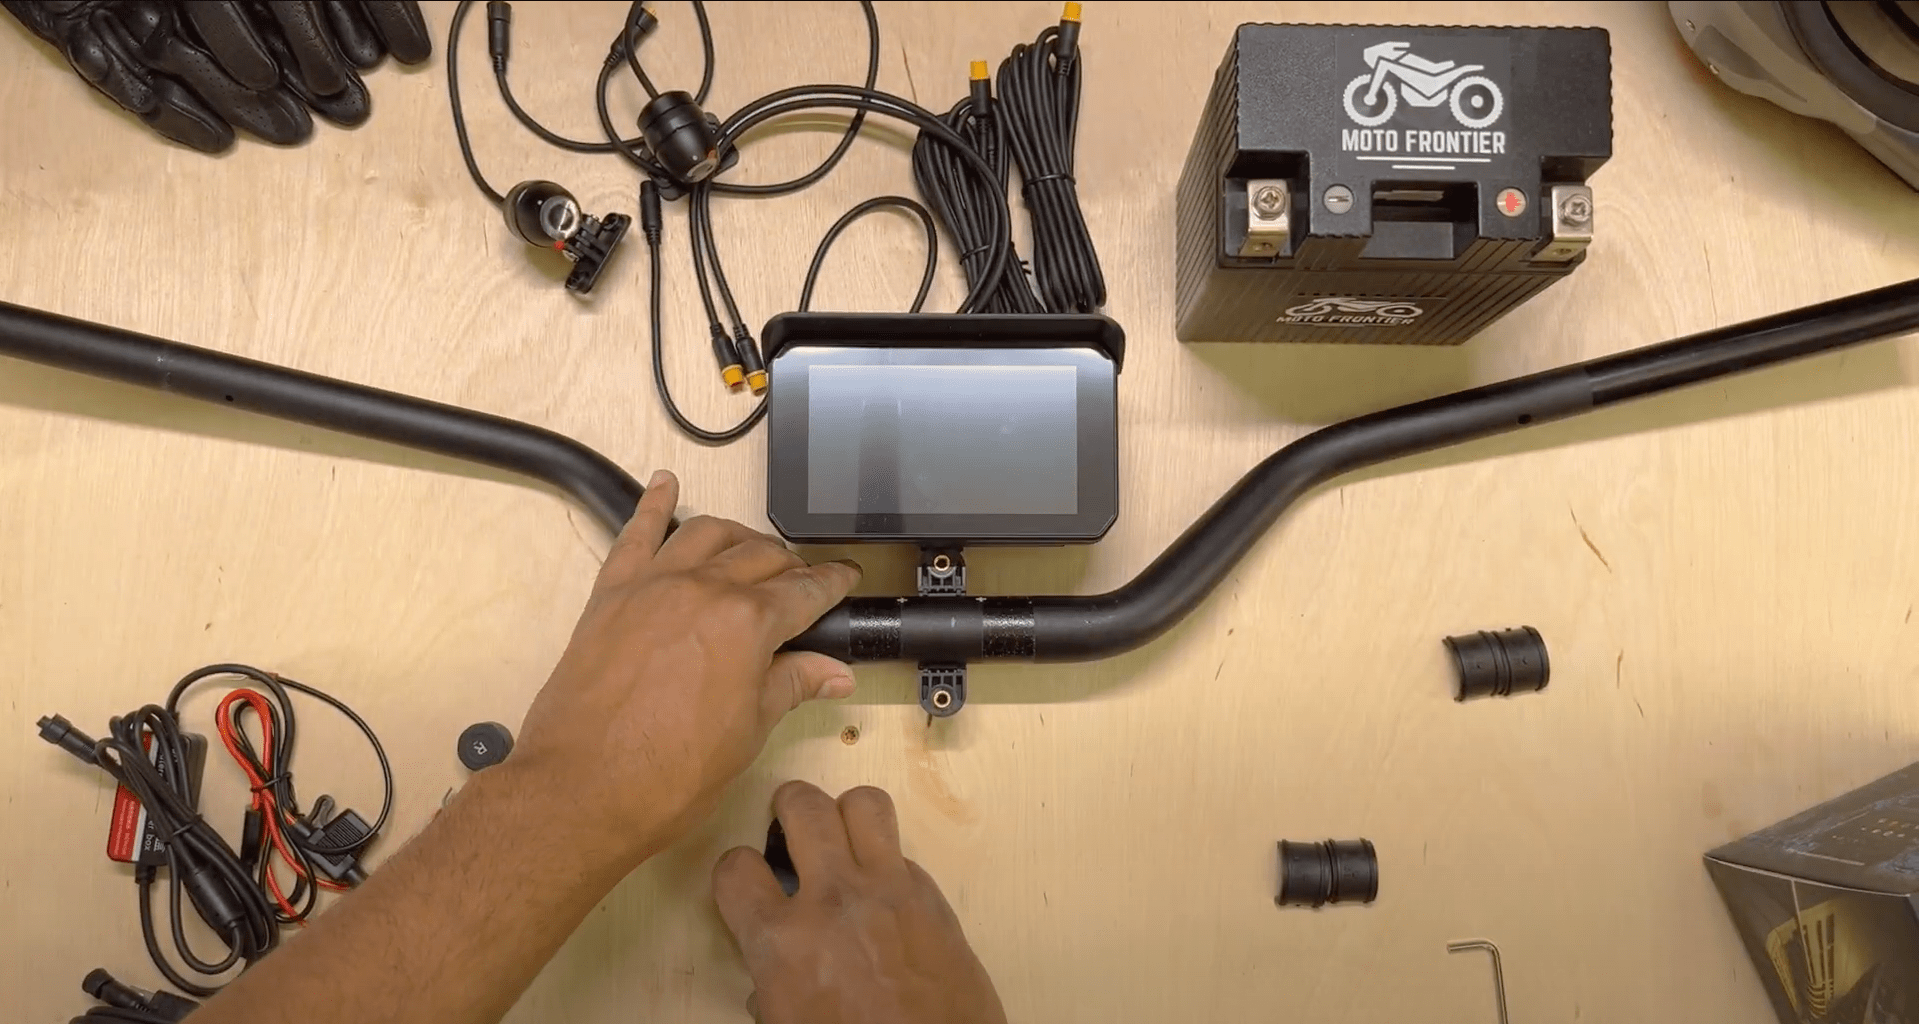
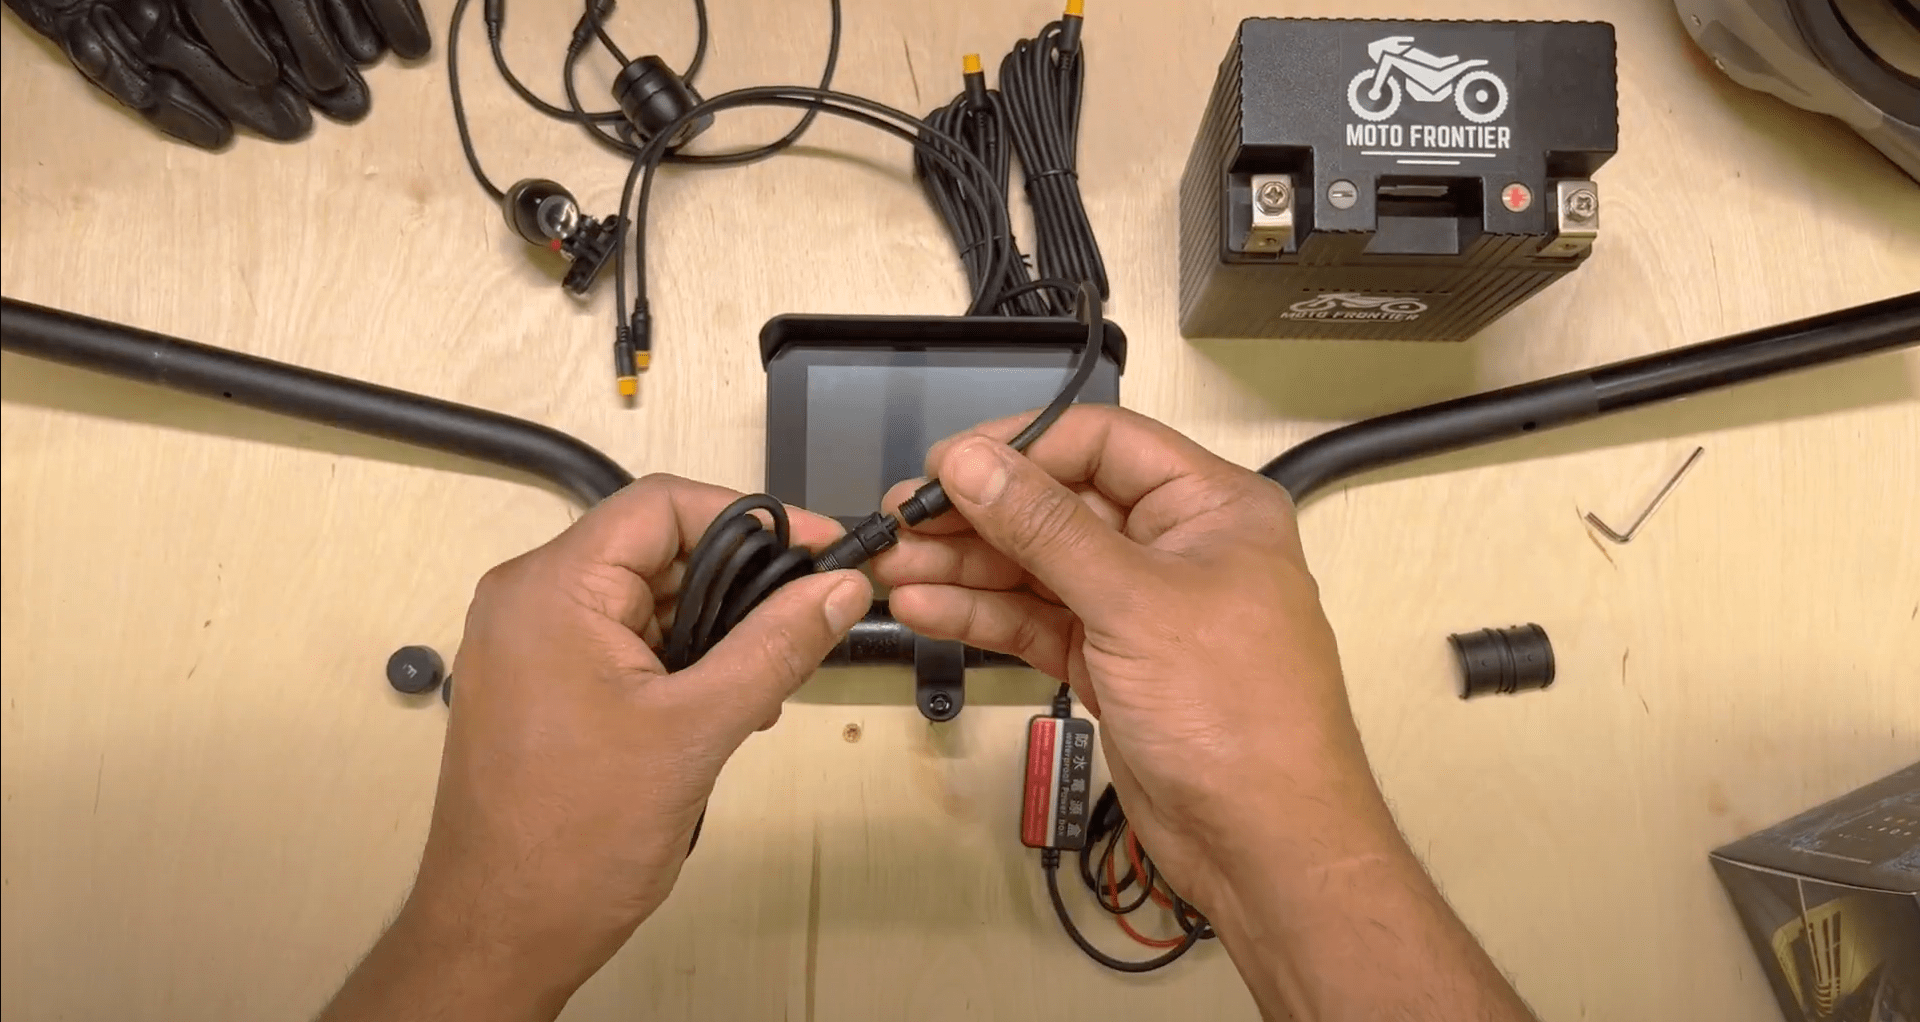
Mount the Display
Title
Connecting to Accessory Port
Title
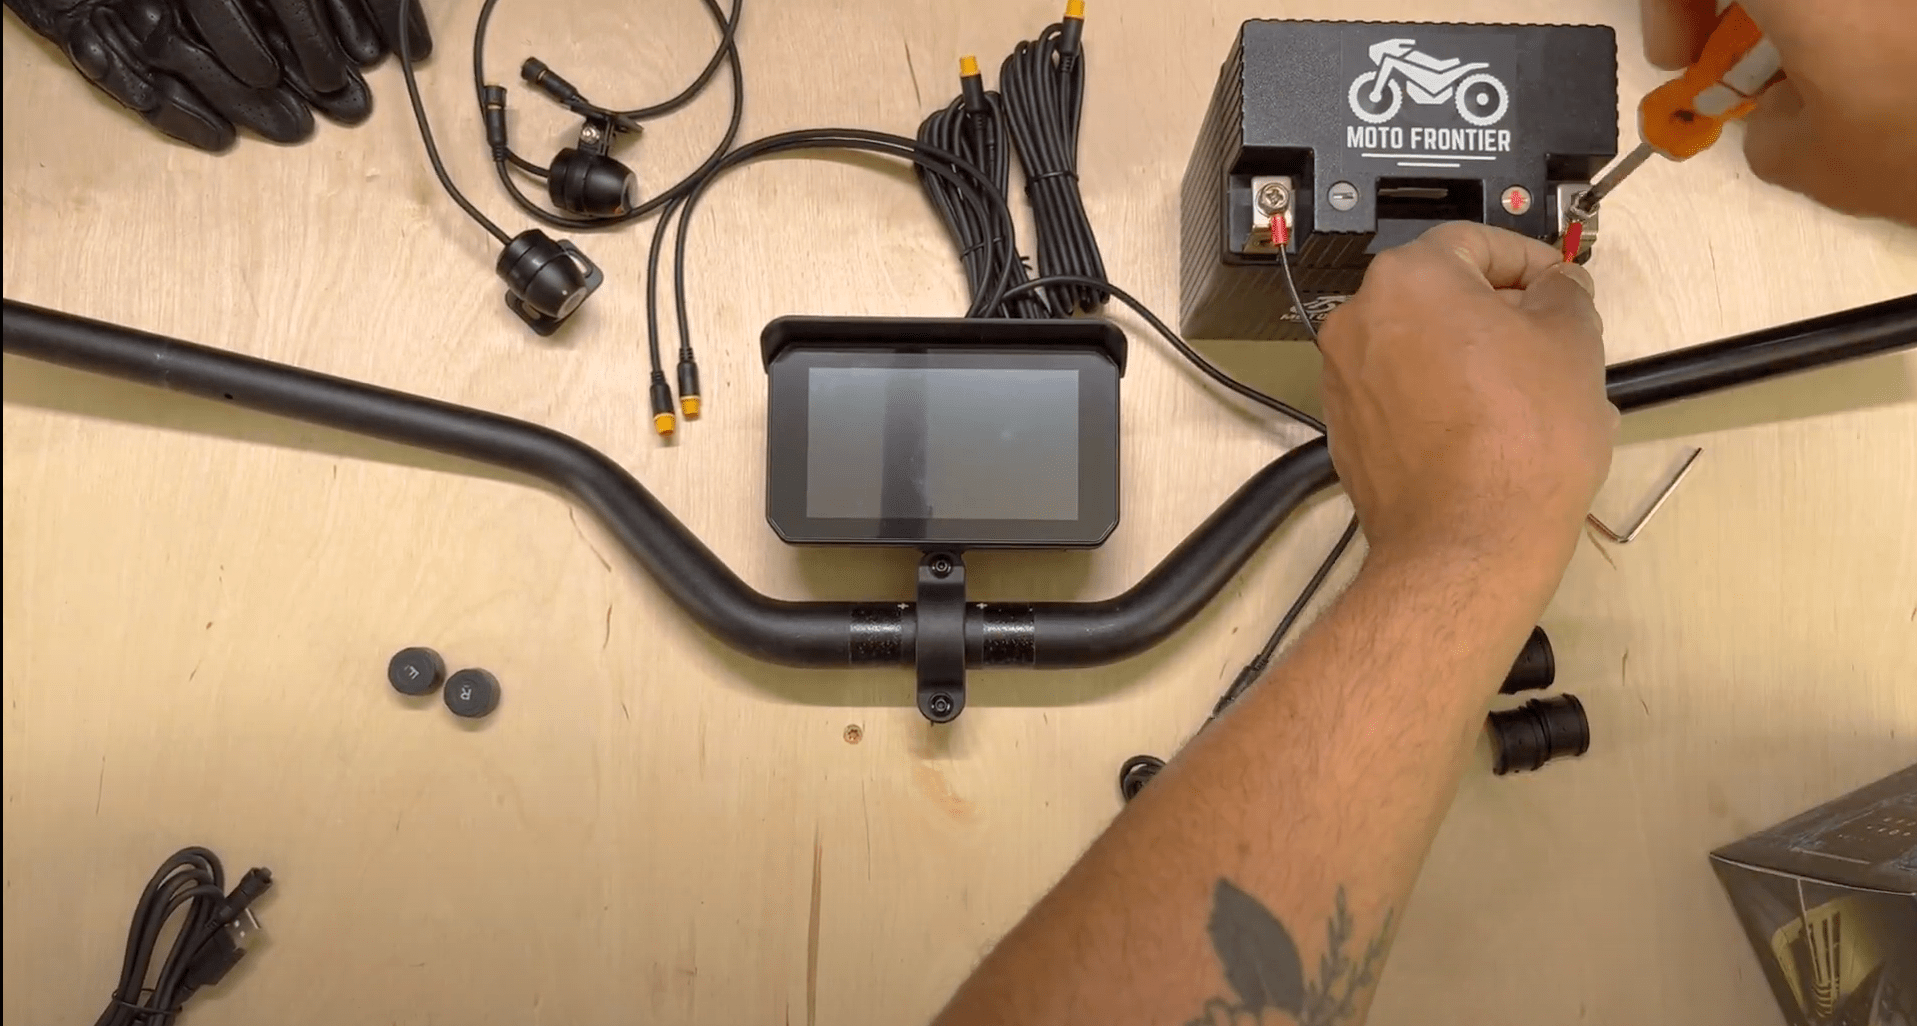
Connecting to Battery Terminals
Title
Camera Installation

Title
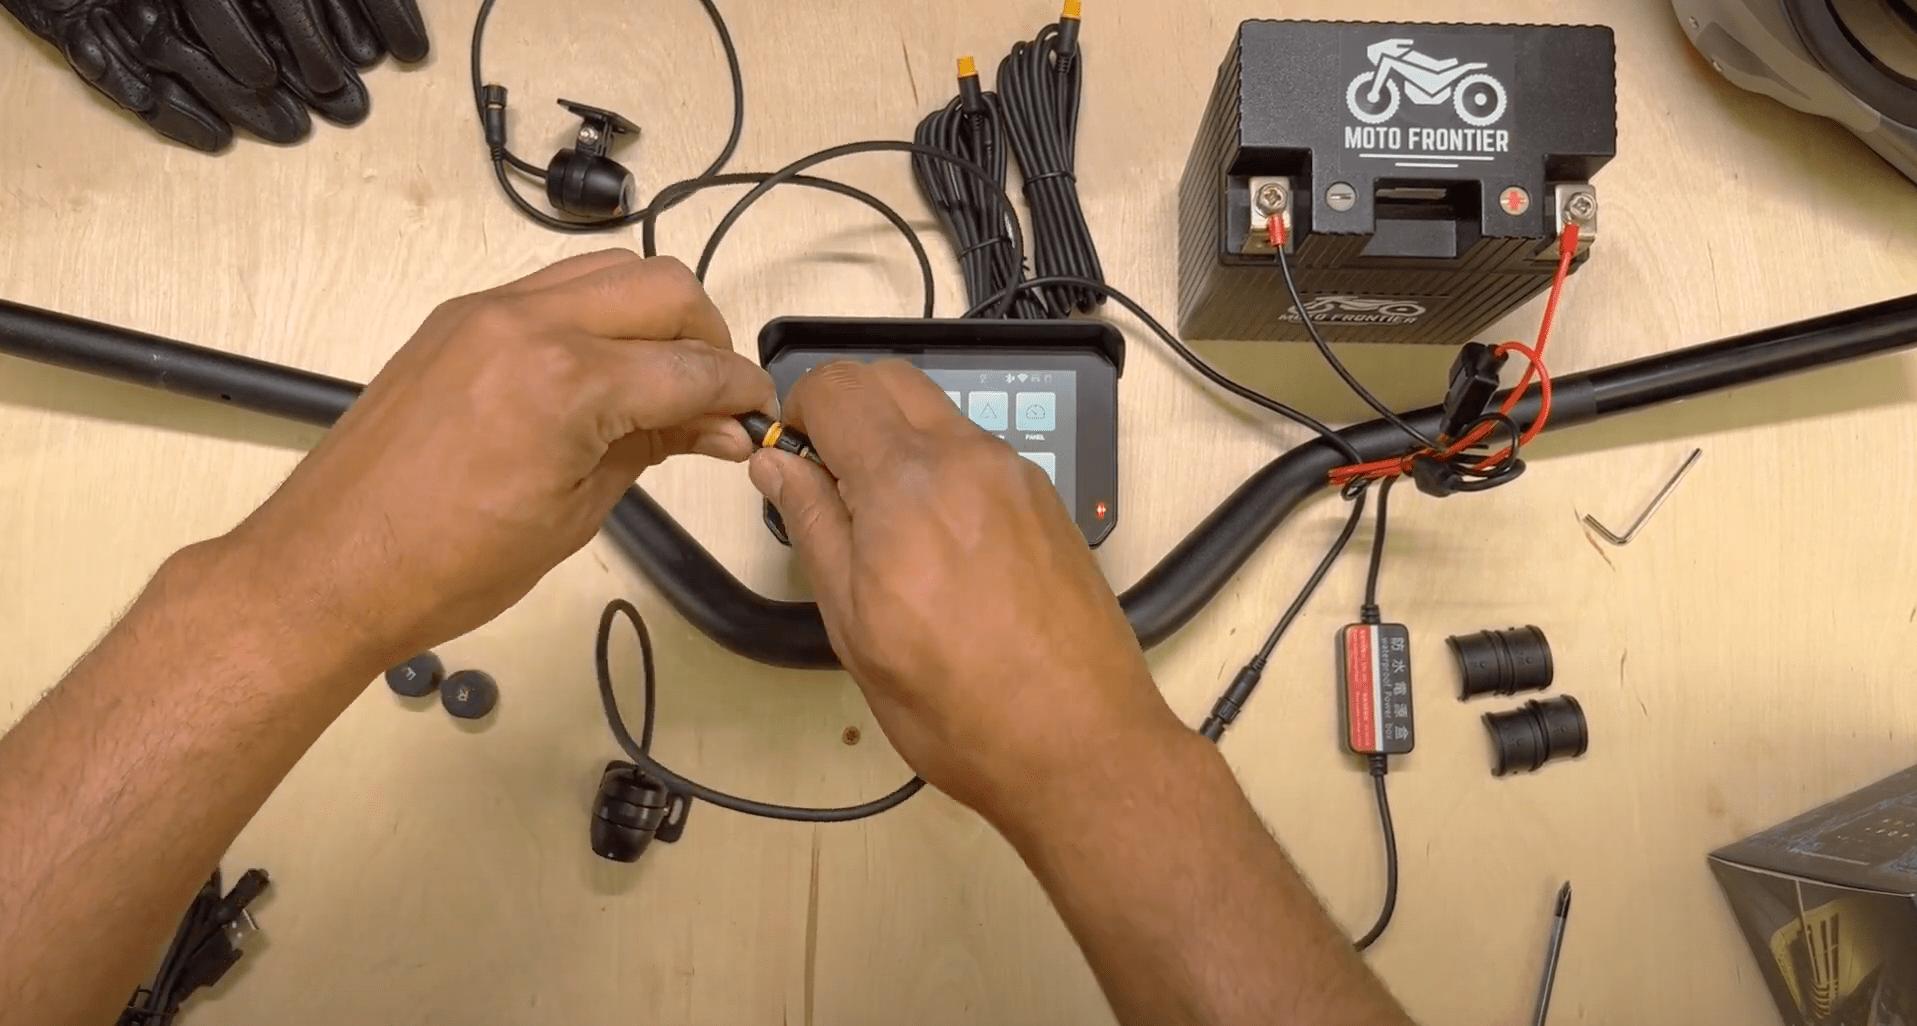
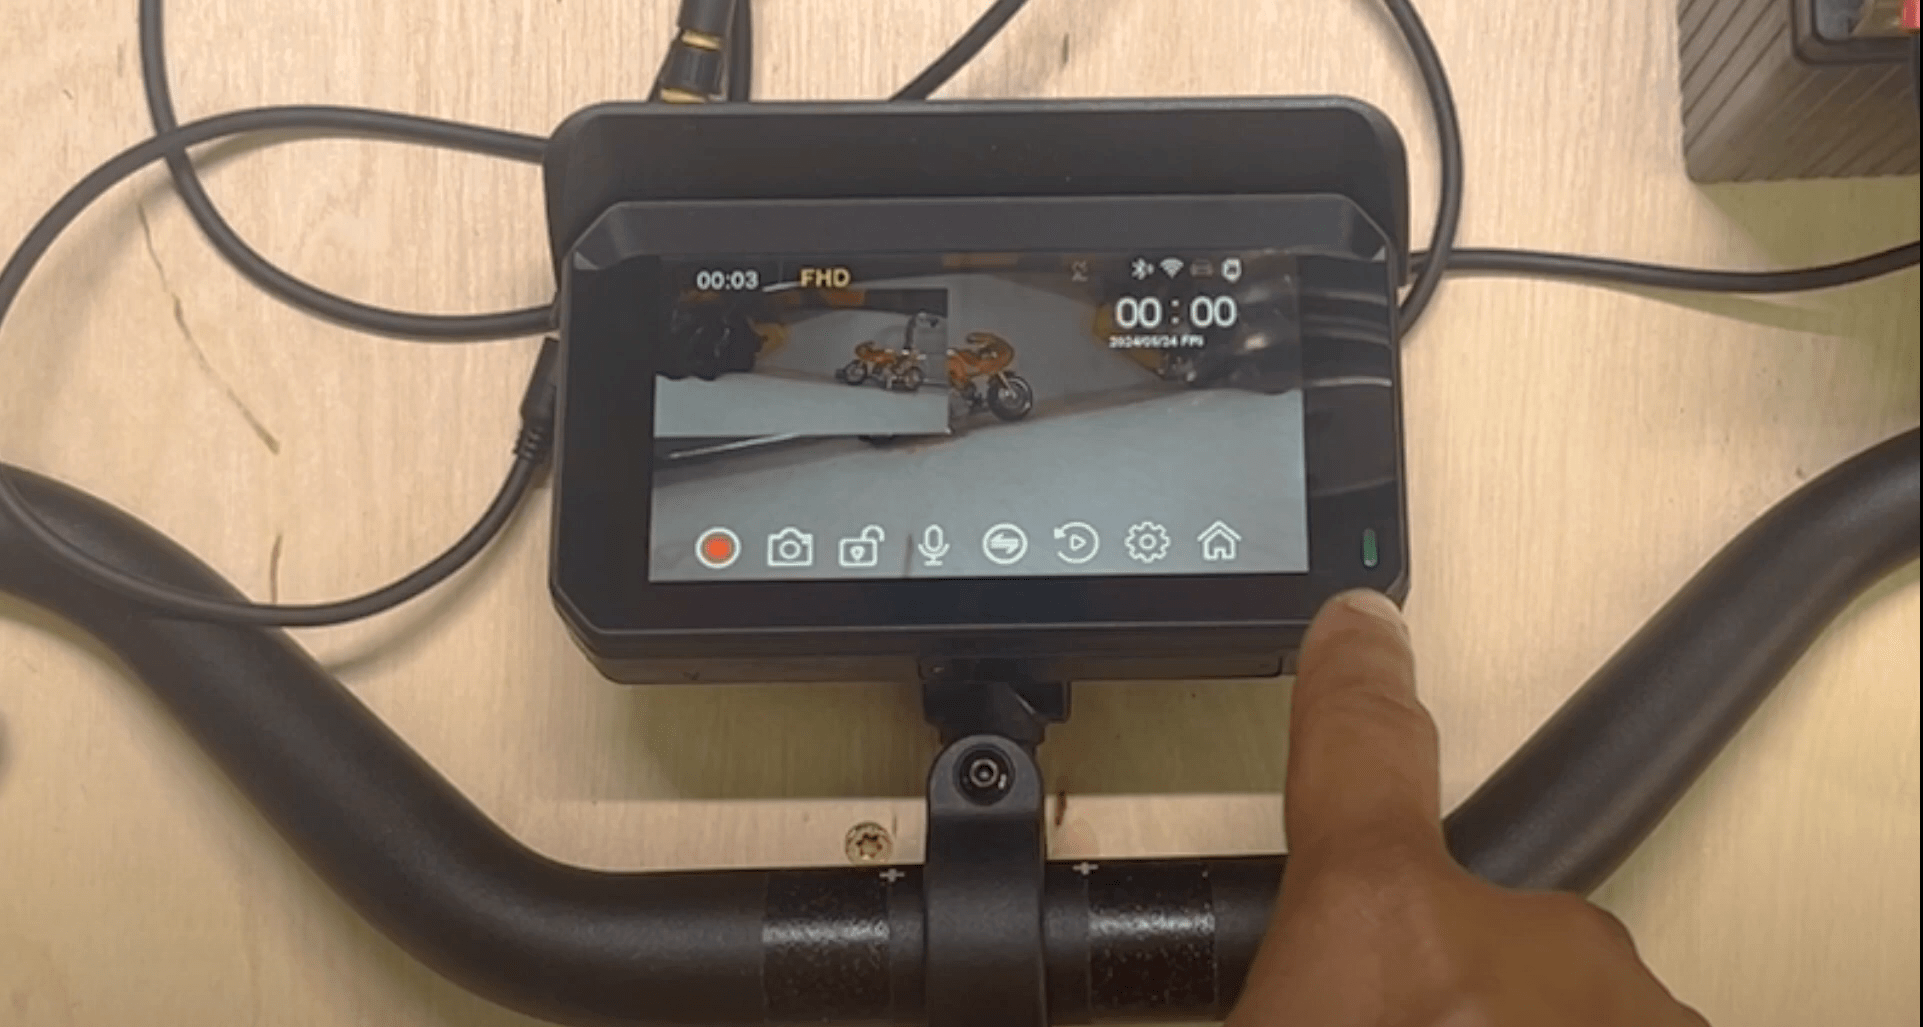
Power On & Display OS
Title
Manage Wiring
Title
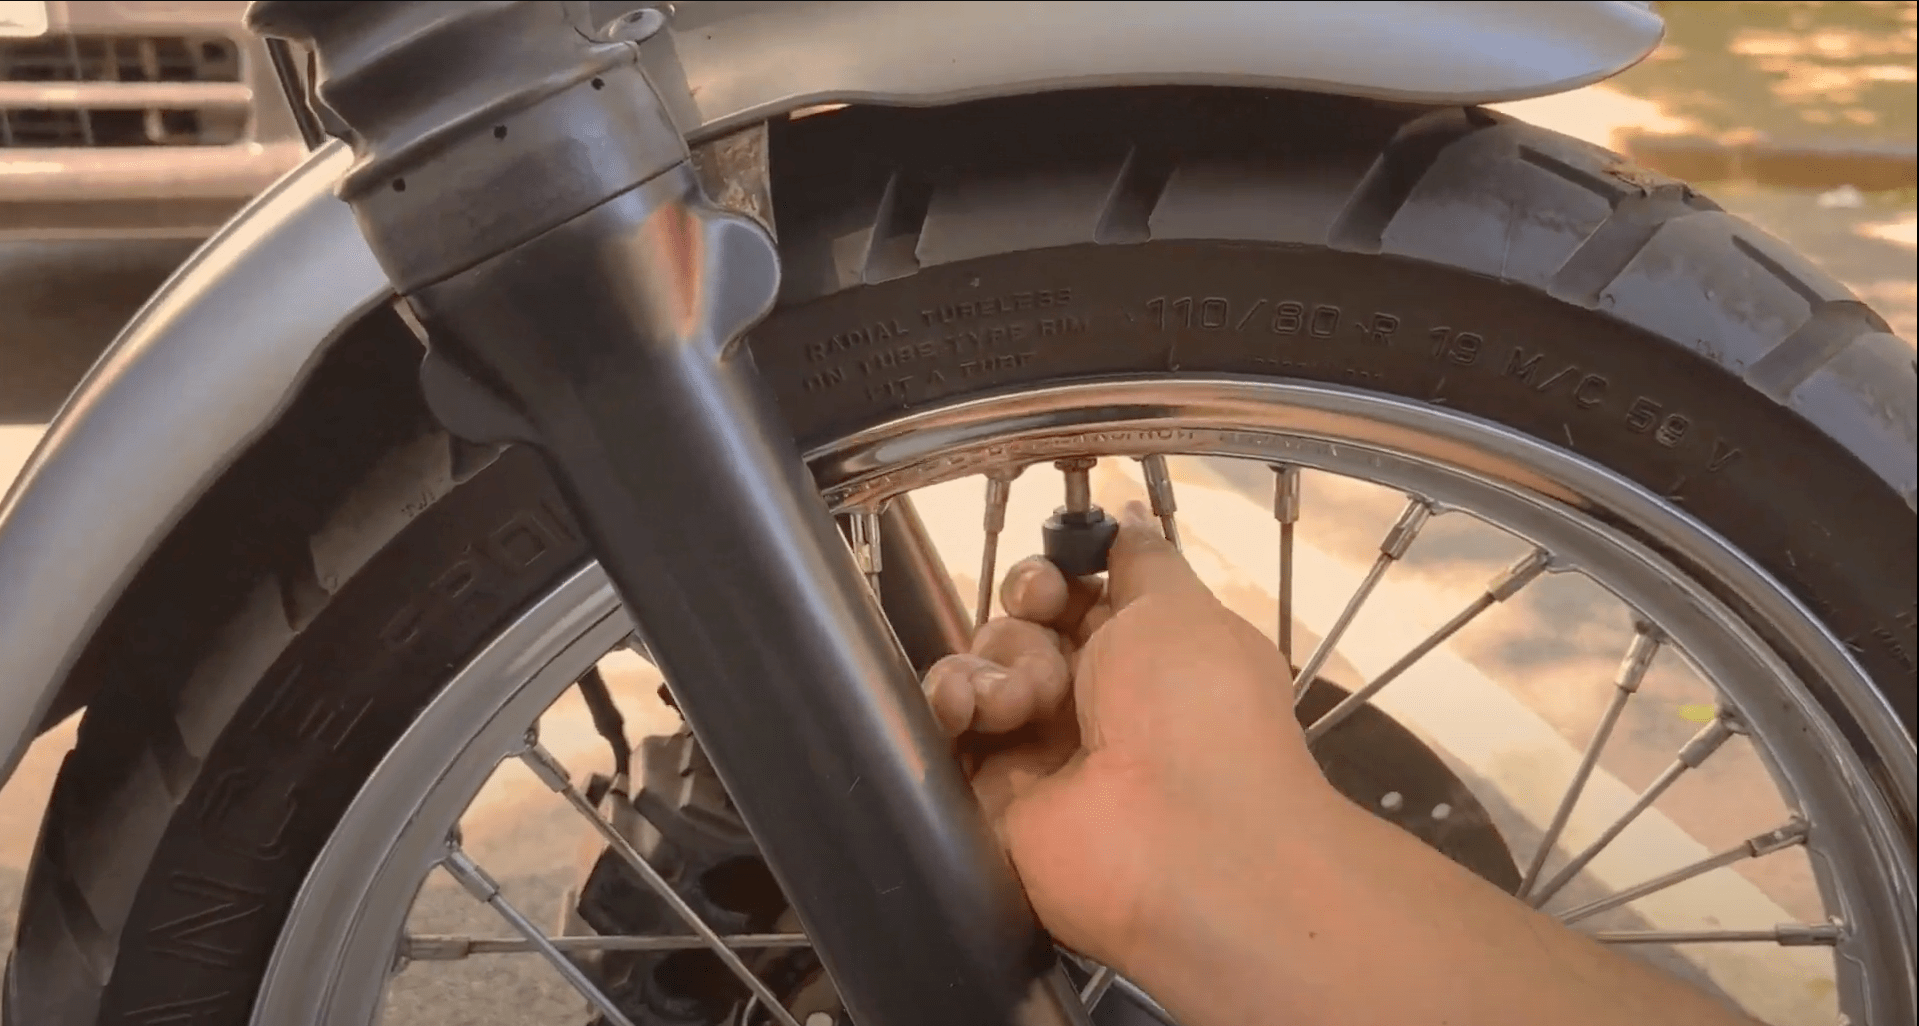
Tire Pressure Monitor
Set Up
Tire Pressure Monitor Calibration
Camera System and Views
Phone Connectivity (bluetooth)
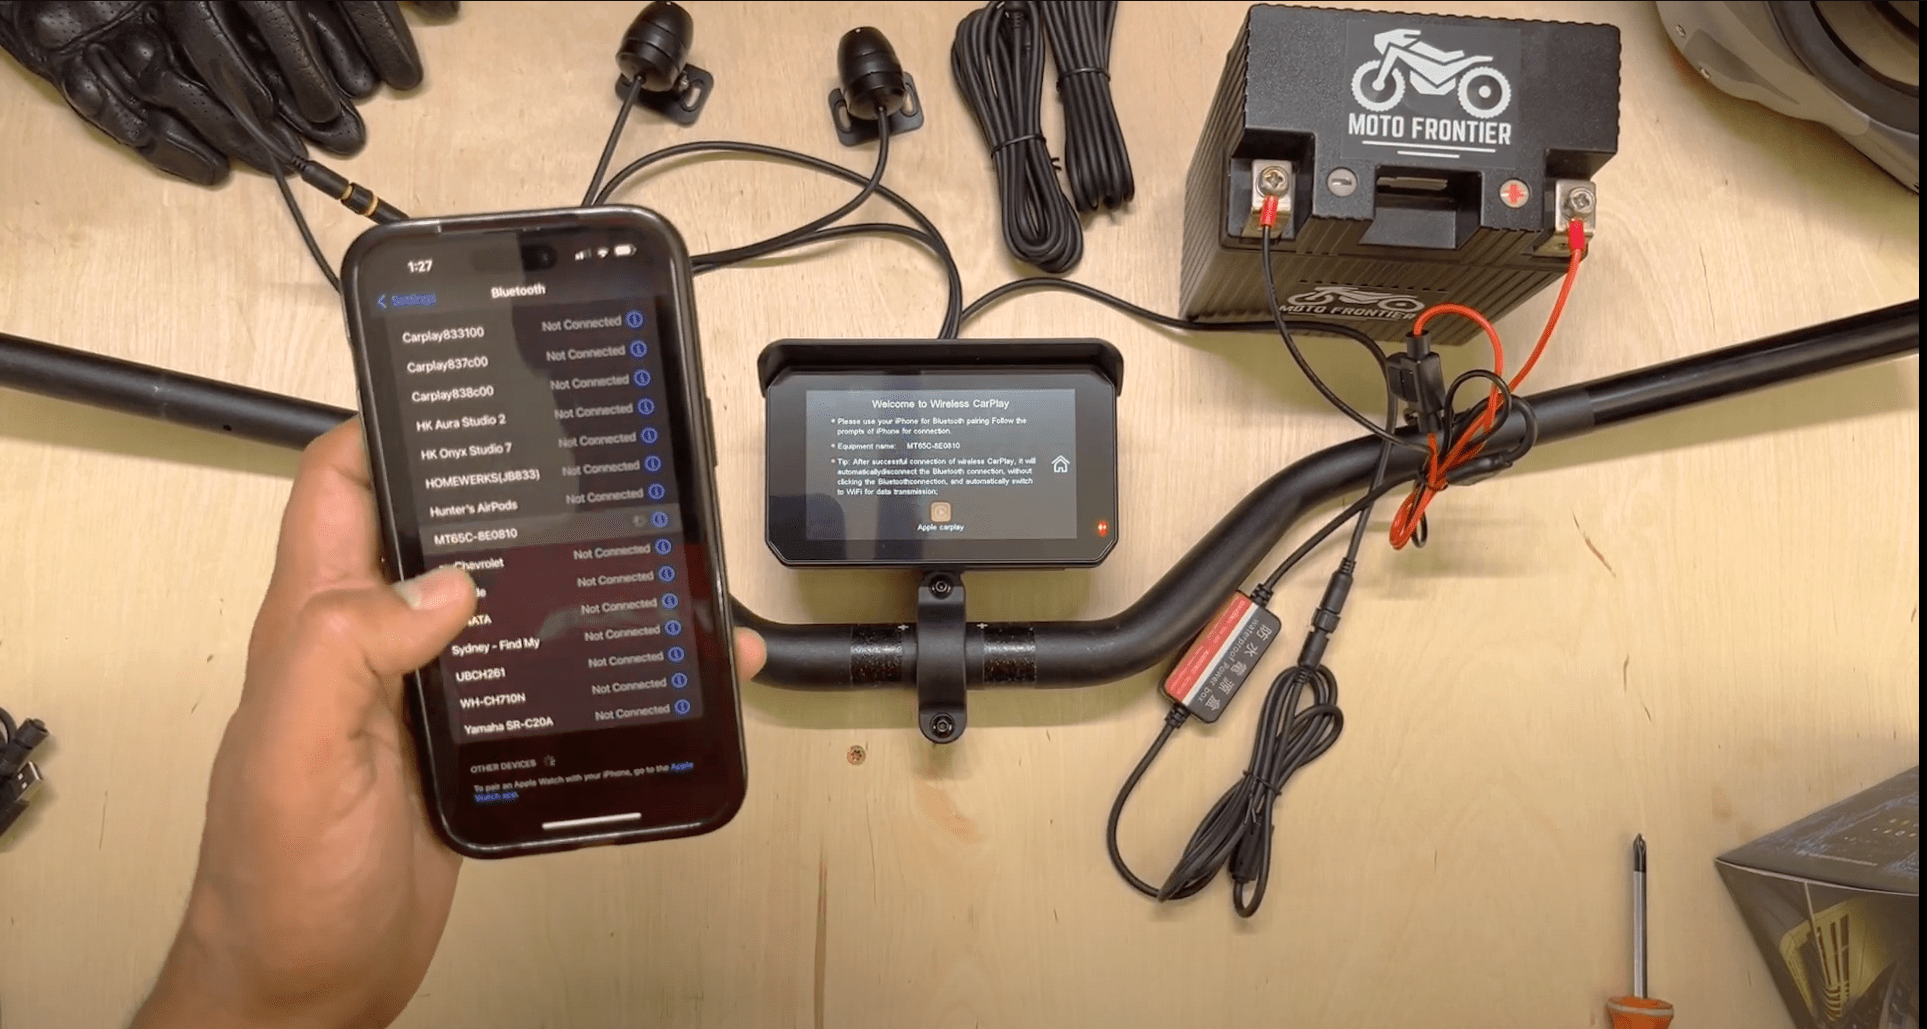
Phone Connectivity (Pairing)
Title